
Follow our free tutorial to sew a knotted headband!
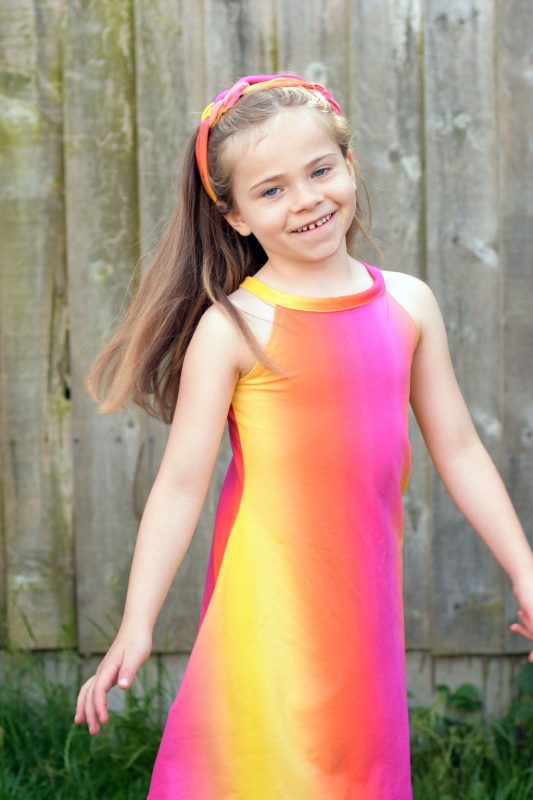
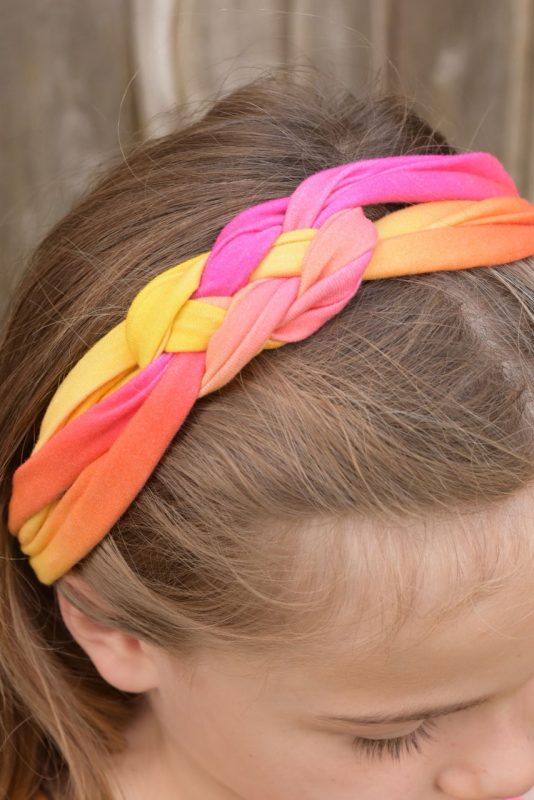
A knotted headband is on trend at the moment. So when Nicola of @tailoredtotsdesigns created this beautiful outfit with cotton spandex from our Ombre Collection, we were blown away. The knotted headband is the perfect matching accessory. We were even more impressed once she explained just how simple it was to make. We’re big fans of items that look complex, but are actually really easy to sew!
This is also a great scrap buster. If you are looking for ideas for what to do with fabric scraps, then sew a knotted headband! Maybe you have an old tshirt you can’t bear to part with, even though you don’t wear it anymore? Upcycle it and sew a knotted headband!
If you haven’t sewn with stretch fabrics (knits) before, then we recommend using a walking foot and stretch or ballpoint needles on your sewing machine. Use a zig zag stitch or stretch stitch throughout, unless the instructions specify otherwise.
Step 1
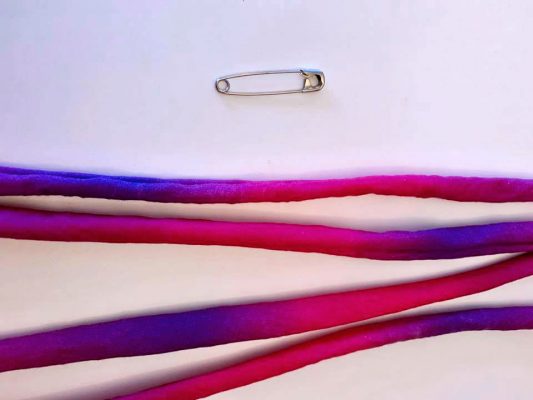
Take 2,4 or 6 strips of fabric, and cut them about 61cm (24 inches) long by 4 cm (1.5 inches) wide. You can use 2, or for a bulkier look 4 or 6 works too.
Sew the strips right side together along the long edge to form a tube. Attach a safety pin to one end and use it to help pull the tube back the right way.
Tip: If you are upcycling an old top, you may be able to skip this step. If your fabric is the same colour both sides, you do not need to make a tube.
Step 2
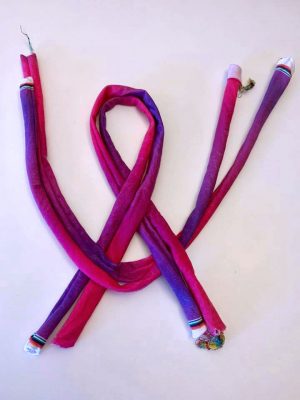
Lay one set of the strips in a ribbon shape as shown.
Step 3
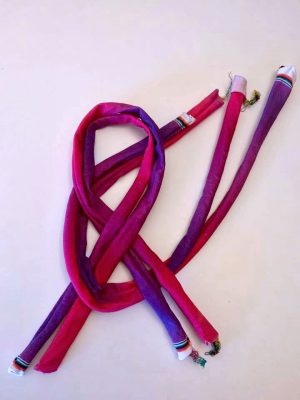
Next, lay the second set on top of the first in a smile shape.
Step 4
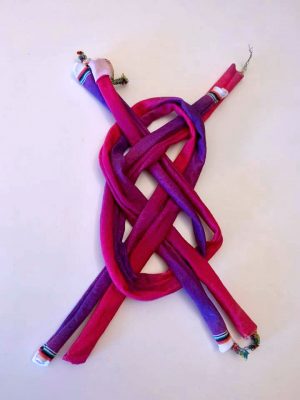
After that, pass the right side of the smile under the right hand leg of the ribbon shape.
Step 5
Then, pass the left hand side of the smile shape under the loop at the top of the ribbon shape.
Step 6
Take the right hand side of the smile shape and pass it over the ribbon, under the left hand side of the smile and then back over the top of the ribbon shape.
Step 7
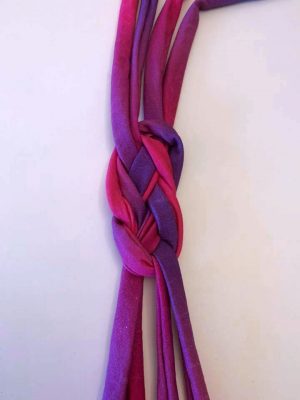
And finally, pull both sets of the ends of the fabric to tighten the knot.
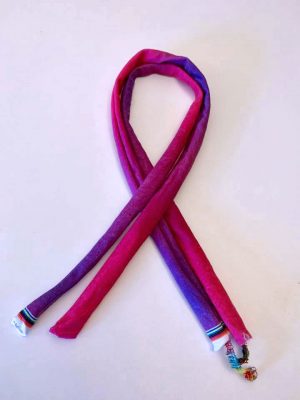
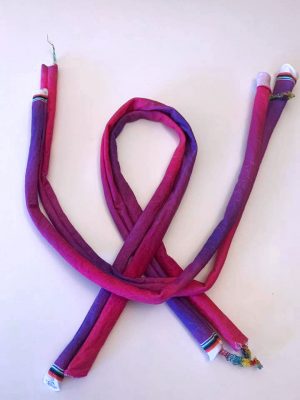
To finish it off, check the length against your model. If requred, trim to size by cutting the ends shorter. You can close the loop by hot gluing the ends together, knotting them together, or (our preferred method) sewing them together.
If you want to sew them together, take each tube and fold the ends inside the tube to hide the raw edge. Lay your band down flat and bring the ends on one side round to the ends on the other side to form a circle. Tuck each end into a tube on the opposite side. Then, once all of the ends are tucked and you have a finsihed circle, with a straight stitch, sew over the tubes to fix them, back stitching to secure.
And there you go! You have sewn a knotted headband!
If you don’t have any scrap pieces of fabric to use to make a headband, then you can always order one of our scrap packs. They contain at least 250g of off cuts and scrap pieces of fabric, and can be used for headbands, underwear pieces, cloth sanitary protection, breast pads, makeup wipes, pockets, applique and so on.
Our thanks to Nicola @tailoredtotsdesigns for photographs and instructions!