How to sew a washable mask pouch from PUL waterproof fabric
We’re launching our new PUL waterproof fabric base this week and as I had a little piece left over from the samples that have gone to our test sewist I thought I’d find a small scrap busting project to do with it.
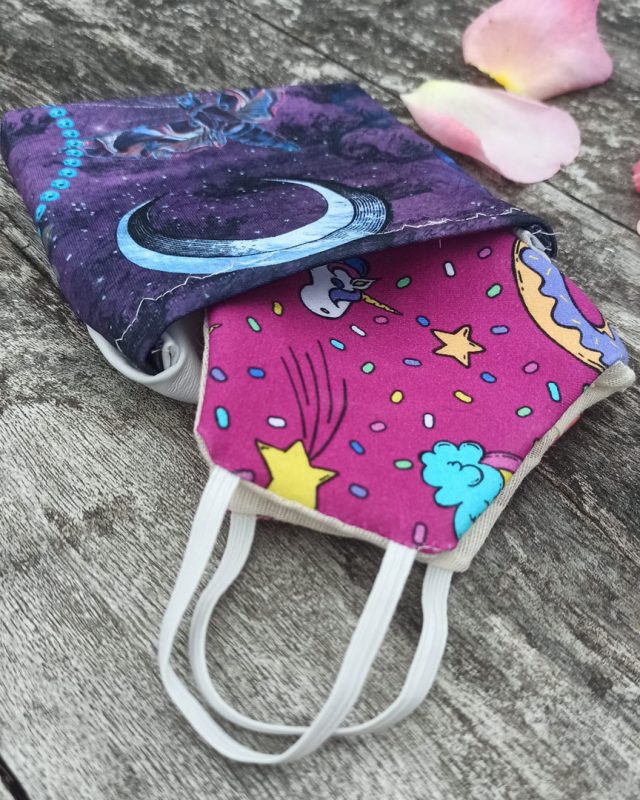
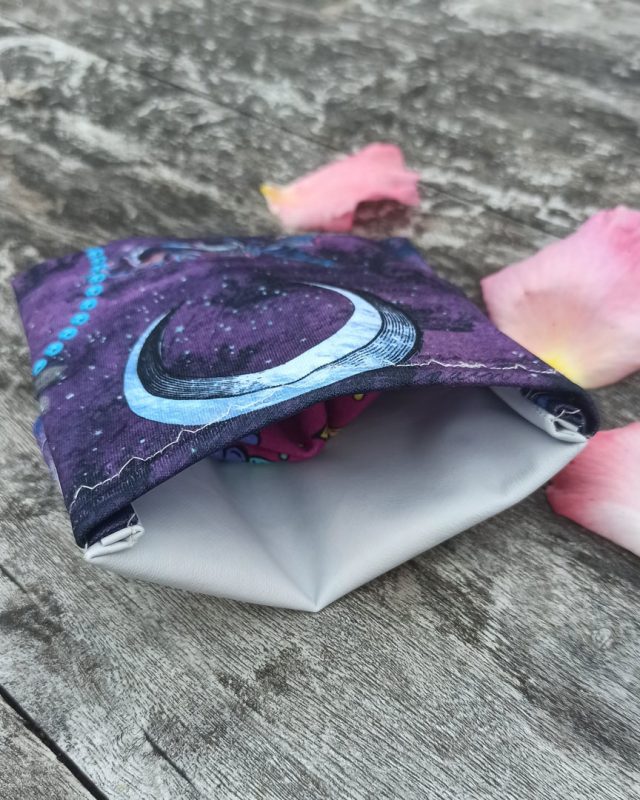
As masks appear to be here to stay, I thought I’d try a little pouch that I can pop my mask in after using it. Which could then go straight into the washing machine when I get home. All you have to do is lift the flap and toss it in, and the mask will fall out during the wash cycle, so there’s no need to even handle it.
These little pouches are fast two sew, and I can see a few situations they’d be useful in. I’m going to make a few extra to store CSP in when out and about.
Due to the laminated reverse, you may find PUL a little tricky to sew. We recommend using a small guage ballpoint needle (e.g. 70) and take your time. You want to create as few holes as possible with PUL, to ensure longevity and water resistance on your project, so going slowly helps to prevent mistakes you may need to seam rip. If you find the fabric had to run through your machine due to the laminate coating, then it can help to start a little bit back from the fabric, possibly try using a longer stitch length and maybe hand turn the first few stitches to get it started. Another option is to use tissue paper underneath the fabric to give the feed dogs something to grab onto. This can be torn away after sewing.
Lastly, if you press or iron your seams during sewing, then it’s important to remember that this fabric will melt, especially the TPU laminate side. If you need to press your seams, then use a medium heat setting, only iron on the printed side, and through cloth by placing a scrap of cotton fabric on top of it.
Step 1
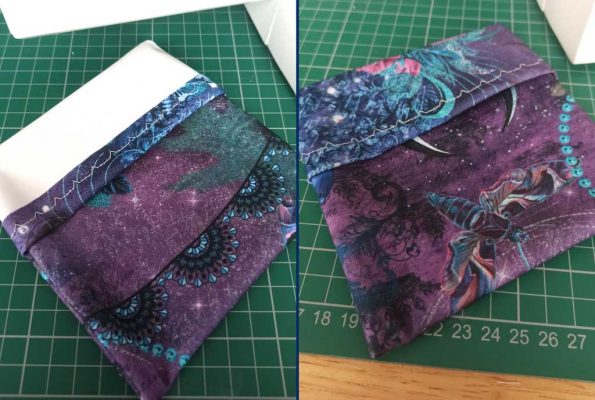
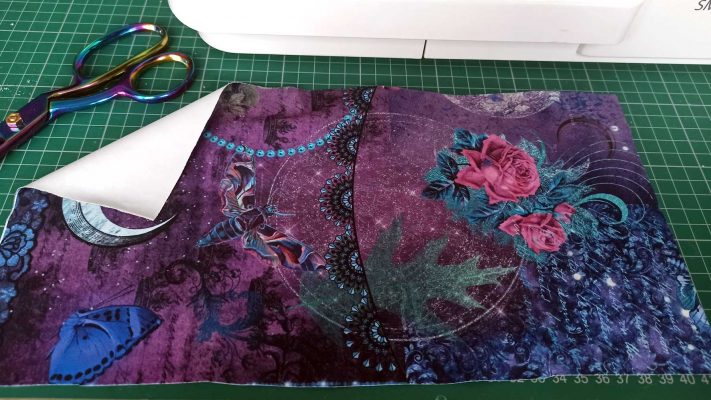
Cut a rectangle of PUL that is twice as high as it is wide. For example, I made mine 18cm wide x 36cm high purely as it was the size of the scrap piece I had left. This can be adjusted to whatever size pouch you want to make of course. A non directional design may be best. As it’s sewn in one piece, with a directional fabric, one side of the finished pouch will be upside down once complete (something that didn’t occur to me until part way through this as you can see from the photos!) If you are using a directional fabric then when you come to step 3, make the shorter side the right direction.
Step 2
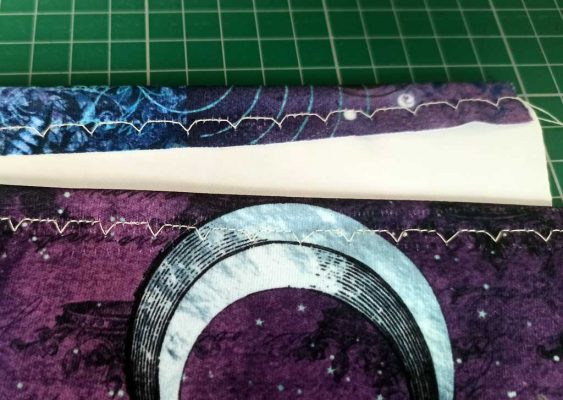
Fold the short end under 1cm to form a hem (you can press at this point before sewing if you wish, but follow the ironing instructions above to avoid melting your fabric). Use a zig zag or variation of a stretch stitch to sew across securing the hem. Repeat this step for the other short end.
Step 3
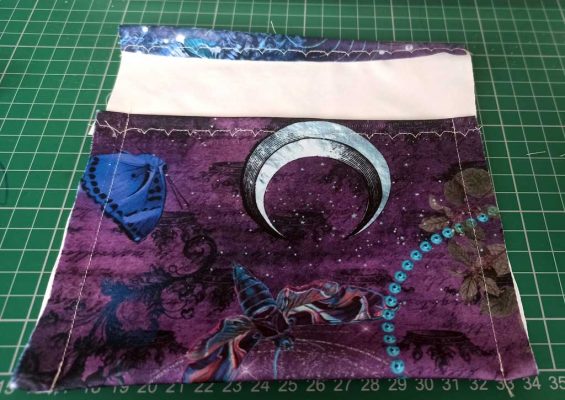
Fold the fabric wrong sides together, leaving about a 6cm overhang on one end. This is the point where if you’re using a directional fabric, you should make sure that your shorter, front side, is right side up for the fabric design and not upside down as I did. I found it really helpful to clip both sides of the pouch at this point, to ensure that there’s no movement whilst sewing, and that your pouch lays flat once both seams are sewn. Using a straight stitch from this point onwards, sew a 1cm seam down both sides – don’t sew the flap.
Step 4
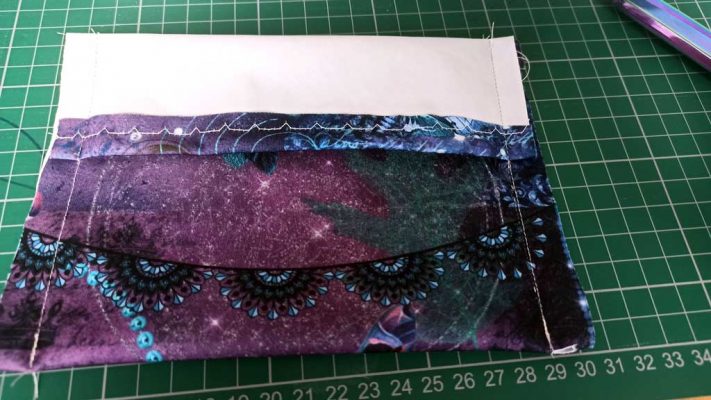
Fold the overhanging flap back onto the main body, and stitch again with a 1cm seam joining up to the previous. This will form the fold over pouch closure.
Step 5
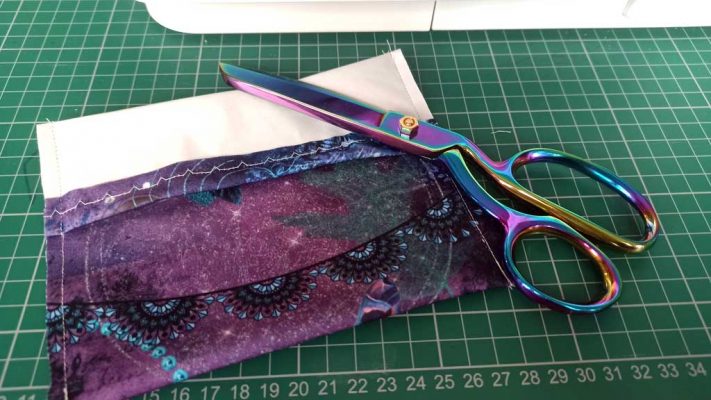
Trim the side seams to half a cm (5mm).
Step 6
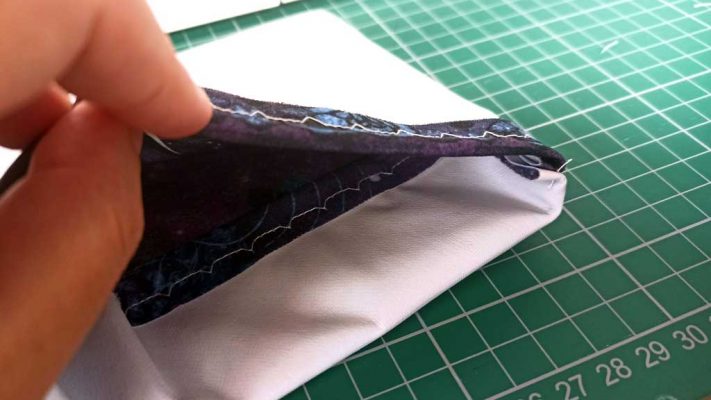
Turn the back wrong side out, you can iron down your seams at this point again if you wish (following the instructions above for ironing again to avoid melting your fabric!).
Step 7
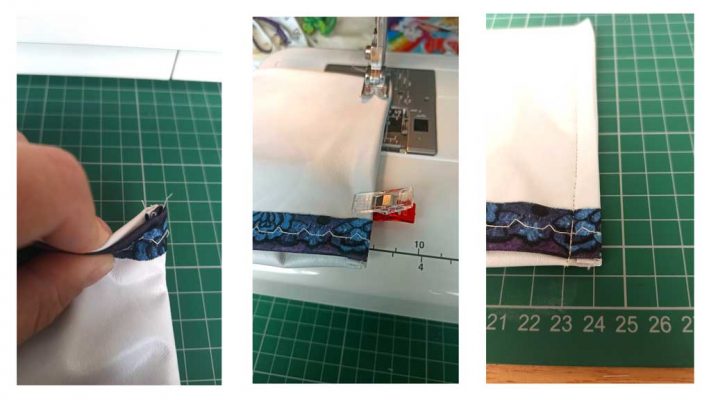
Next we’re going to sew French seams to reinforce the sides and hide the inside seam flaps so nothing you pop in the pouch can get caught in them. To do this we need to sew 1cm side seams again, making sure we enclose the original trimmed to 5mm seam in this second seam.
Step 8
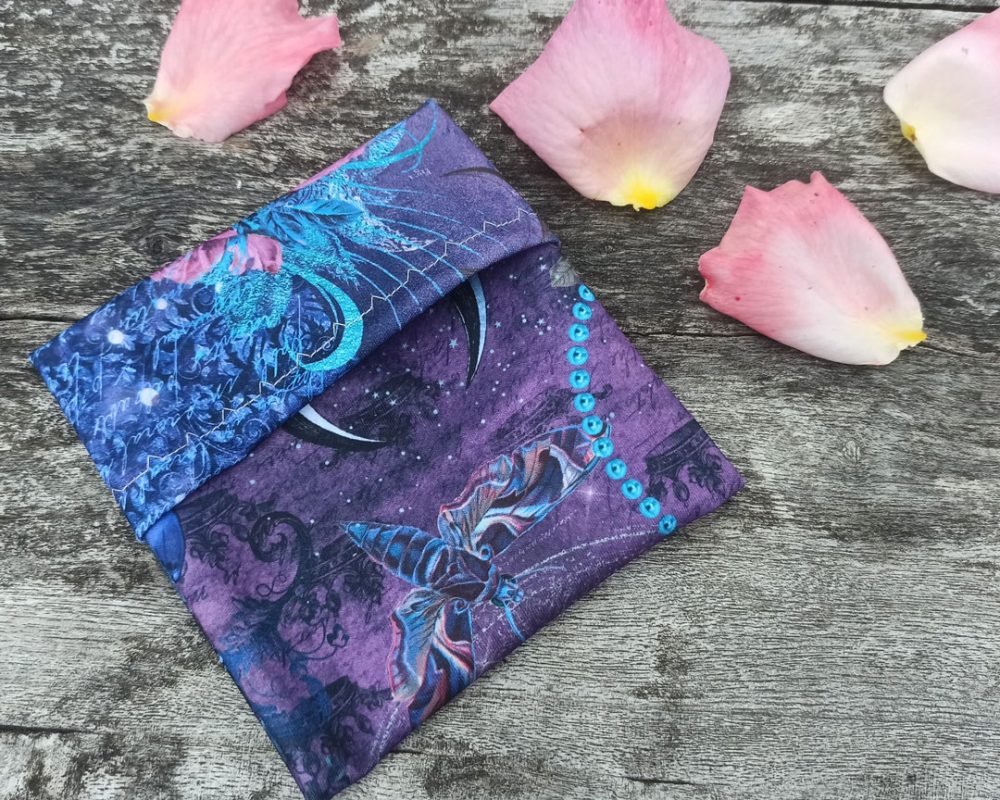
Turn the pouch right side out, and then fold the flap over the top to close it and you’re done!
